0. 介质
- ubuntu-16.04.6-desktop-amd64.iso;
1. 环境
- ubuntu x 3;
2. 网络配置
2.1 修改hostname:
sudo vim /etc/hostname- 分别修改为
node-1、node-2、node-3;
2.2 修改hosts:
-
sudo vim /etc/hosts -
127.0.0.1       node-1/node-2/node-3  # 注意这里127建议修改为实际IP,否则非本地访问时容易出现问题

192.168.220.31 node-1
192.168.220.32 node-2
192.168.220.33 node-3
2.3 修改IP:
-
sudo vim /etc/network/interfacesauto lo iface lo inet loopback auto ens33 iface ens33 inet static address 192.168.220.31/32/33 netmask 255.255.255.0 gateway 192.168.220.2注意:这里网关配置
192.168.220.1时网络连接不上,查看VMware Fusion的网络配置文件(/Library/Preferences/VMware Fusion),net8网卡的nat配置中,网关为192.168.220.2。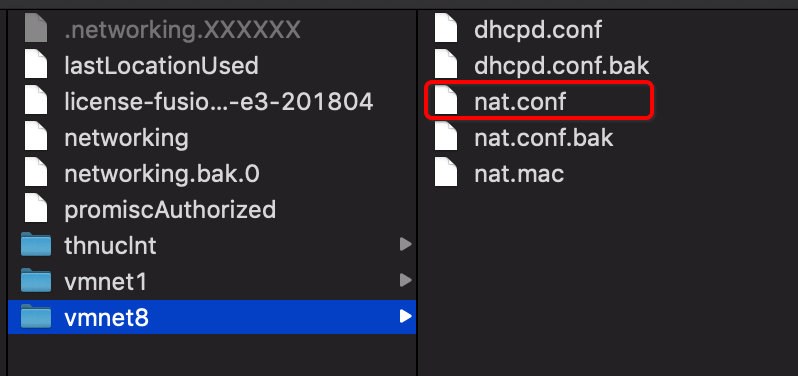

2.4 配置域名解析地址
-
sudo vim /etc/resolvconf/resolv.conf.d/basenameserver 114.114.114.114 nameserver 8.8.8.8
2.5 重启
reboot;
3. 安装ssh server
系统自带ssh的话略过。验证方式(首先关闭防火墙):
ps -e|grep ssh,有进程表示有ssh服务,无需下载;ssh node-1/2/3或者scp ~/test.txt root@node-1/2/3:~/,提示ssh: connect to host node-2 port 22: Connection refused时说明需要安装ssh。
sudo apt install openssh-server;- 验证:
ps -e|grep ssh或者执行ssh/scp命令;
4. 免密登录配置
将三台机子配置互相免密。
-
各自执行
ssh-keygen -t rsa -P '' -f ~/.ssh/id_rsa- rsa:生成公私钥的算法; - P '':表示空密码;执行完成后,会在
~目录下生成.ssh文件夹,里面包含两个文件:id_rsa:私钥;id_rsa.pub:公钥;
-
将公钥合并(node-2/3传给node-1,合并后再下发,以下node-1上执行):
cat ~/.ssh/id_rsa.pub >> ~/.ssh/authorized_keys;chmod 600 ~/.ssh/authorized_keys;scp youruser@node-2:~/.ssh/id_rsa.pub ~/.ssh/id_rsa2.pub;scp youruser@node-3:~/.ssh/id_rsa.pub ~/.ssh/id_rsa3.pub;cat ~/.ssh/id_rsa2.pub >> ~/.ssh/authorized_keys;cat ~/.ssh/id_rsa3.pub >> ~/.ssh/authorized_keys;scp ~/.ssh/authorized_keys youruser@node-2:~/.ssh/;scp ~/.ssh/authorized_keys youruser@node-3:~/.ssh/;
-
分别在3台机子执行
ssh node-*命令进行验证(首次仍需输入密码)。