0. 介质
- ubuntu版本:ubuntu-16.04.6-desktop-amd64;
- nexus:nexus-3.19.1-01,下载地址;
1. 安装
-
下载nexus-3.19.1-01-unix.tar.gz,放至
~/software目录; -
tar -zxvf nexus-3.19.1-01-unix.tar.gz解压:
- nexus-3.19.1-01:nexus主目录,包括bin目录;
- sonatype-work:工作目录,包含配置文件和日志等。
2. 启动
-
cd nexus-3.19.1-01/bin -
./nexus
可以看到,启动、停止、重启等命令;
-
./nexus start,等待片刻即可启动成功;日志可以在
/home/gp/software/sonatype-work/nexus3/log下通过tail命令查看。 -
访问:nexus默认端口为8081,在本地输入虚拟机地址或者直接在虚拟机输入
http://localhost:8081即可访问nexus(启动页很酷):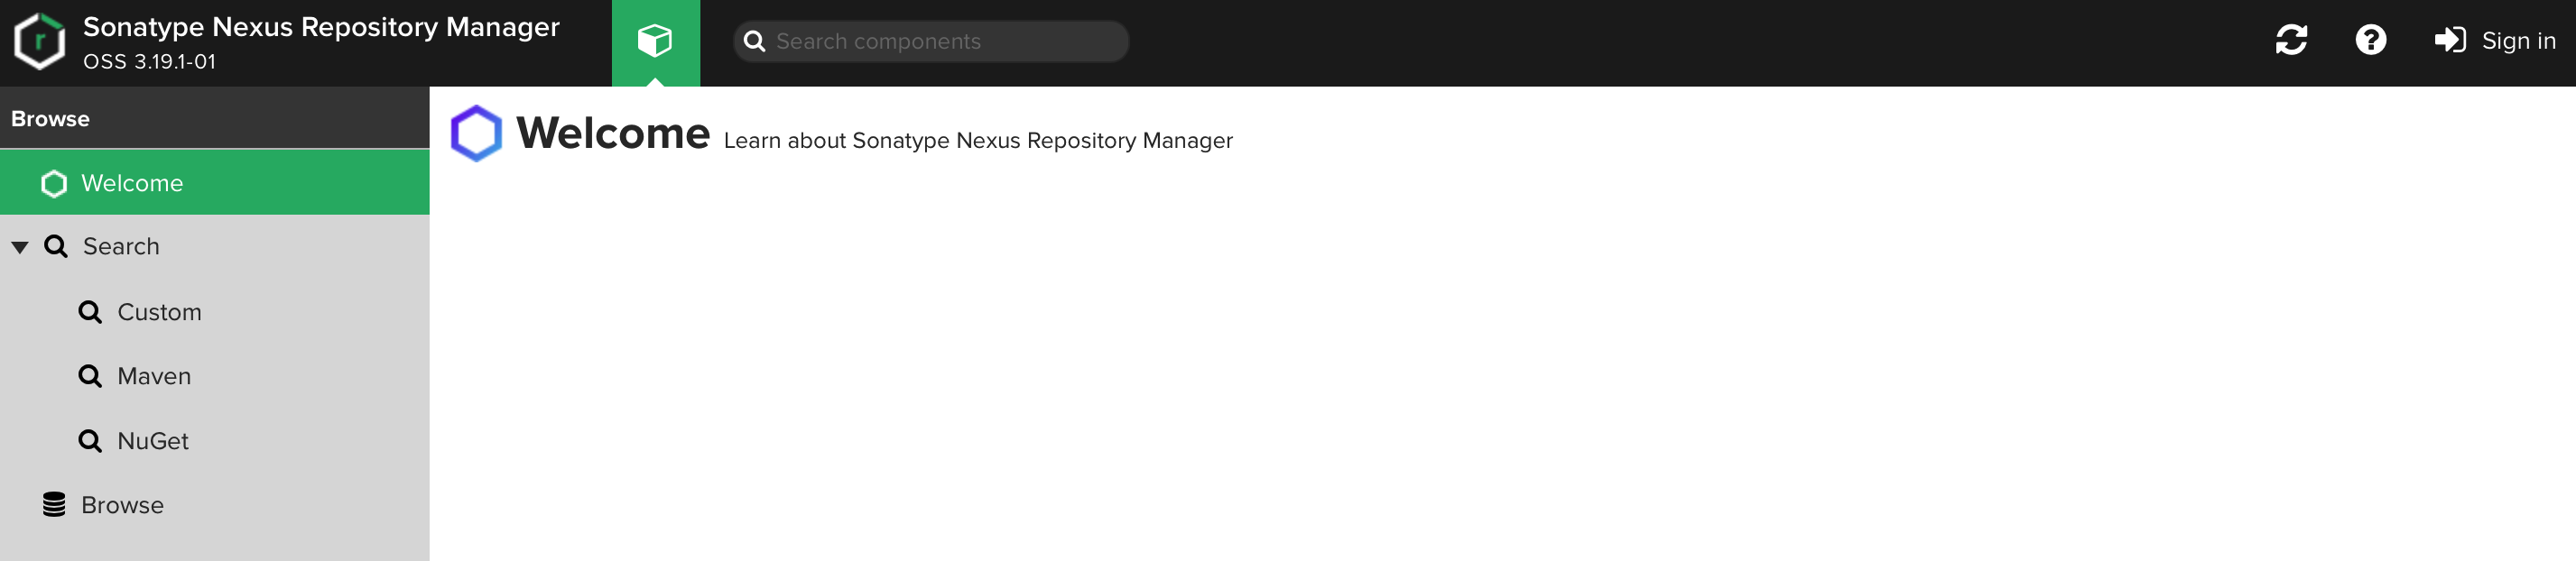
3. 登录
-
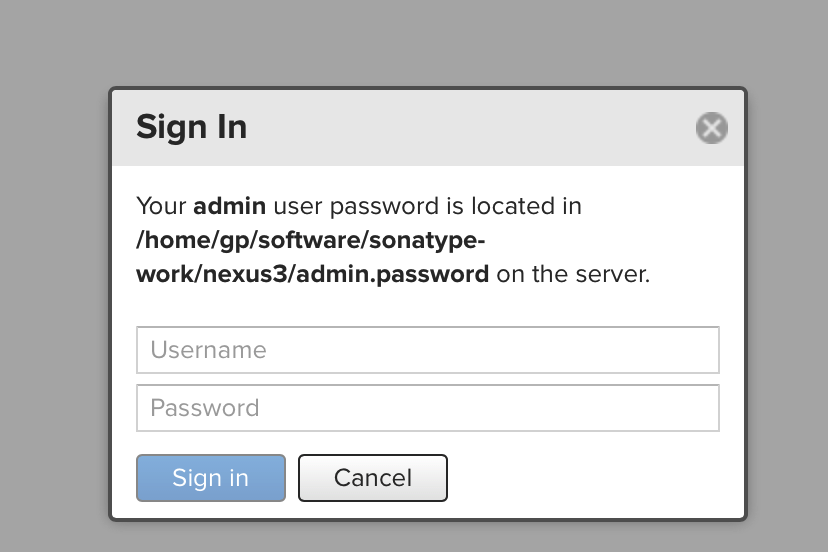
点击右上角Sigh in,弹框:
-
根据提示打开
/home/gp/software/sonatype-work/nexus3/admin.password,复制里面内容(初始密码); -
输入
admin,粘贴复制的密码,即可登录; -
首次登录成功后,弹框初始化设置,共4步,第2步设置新密码,第3步设置是否允许匿名访问,建议默认(不允许),第4步Finish;
4. 仓库
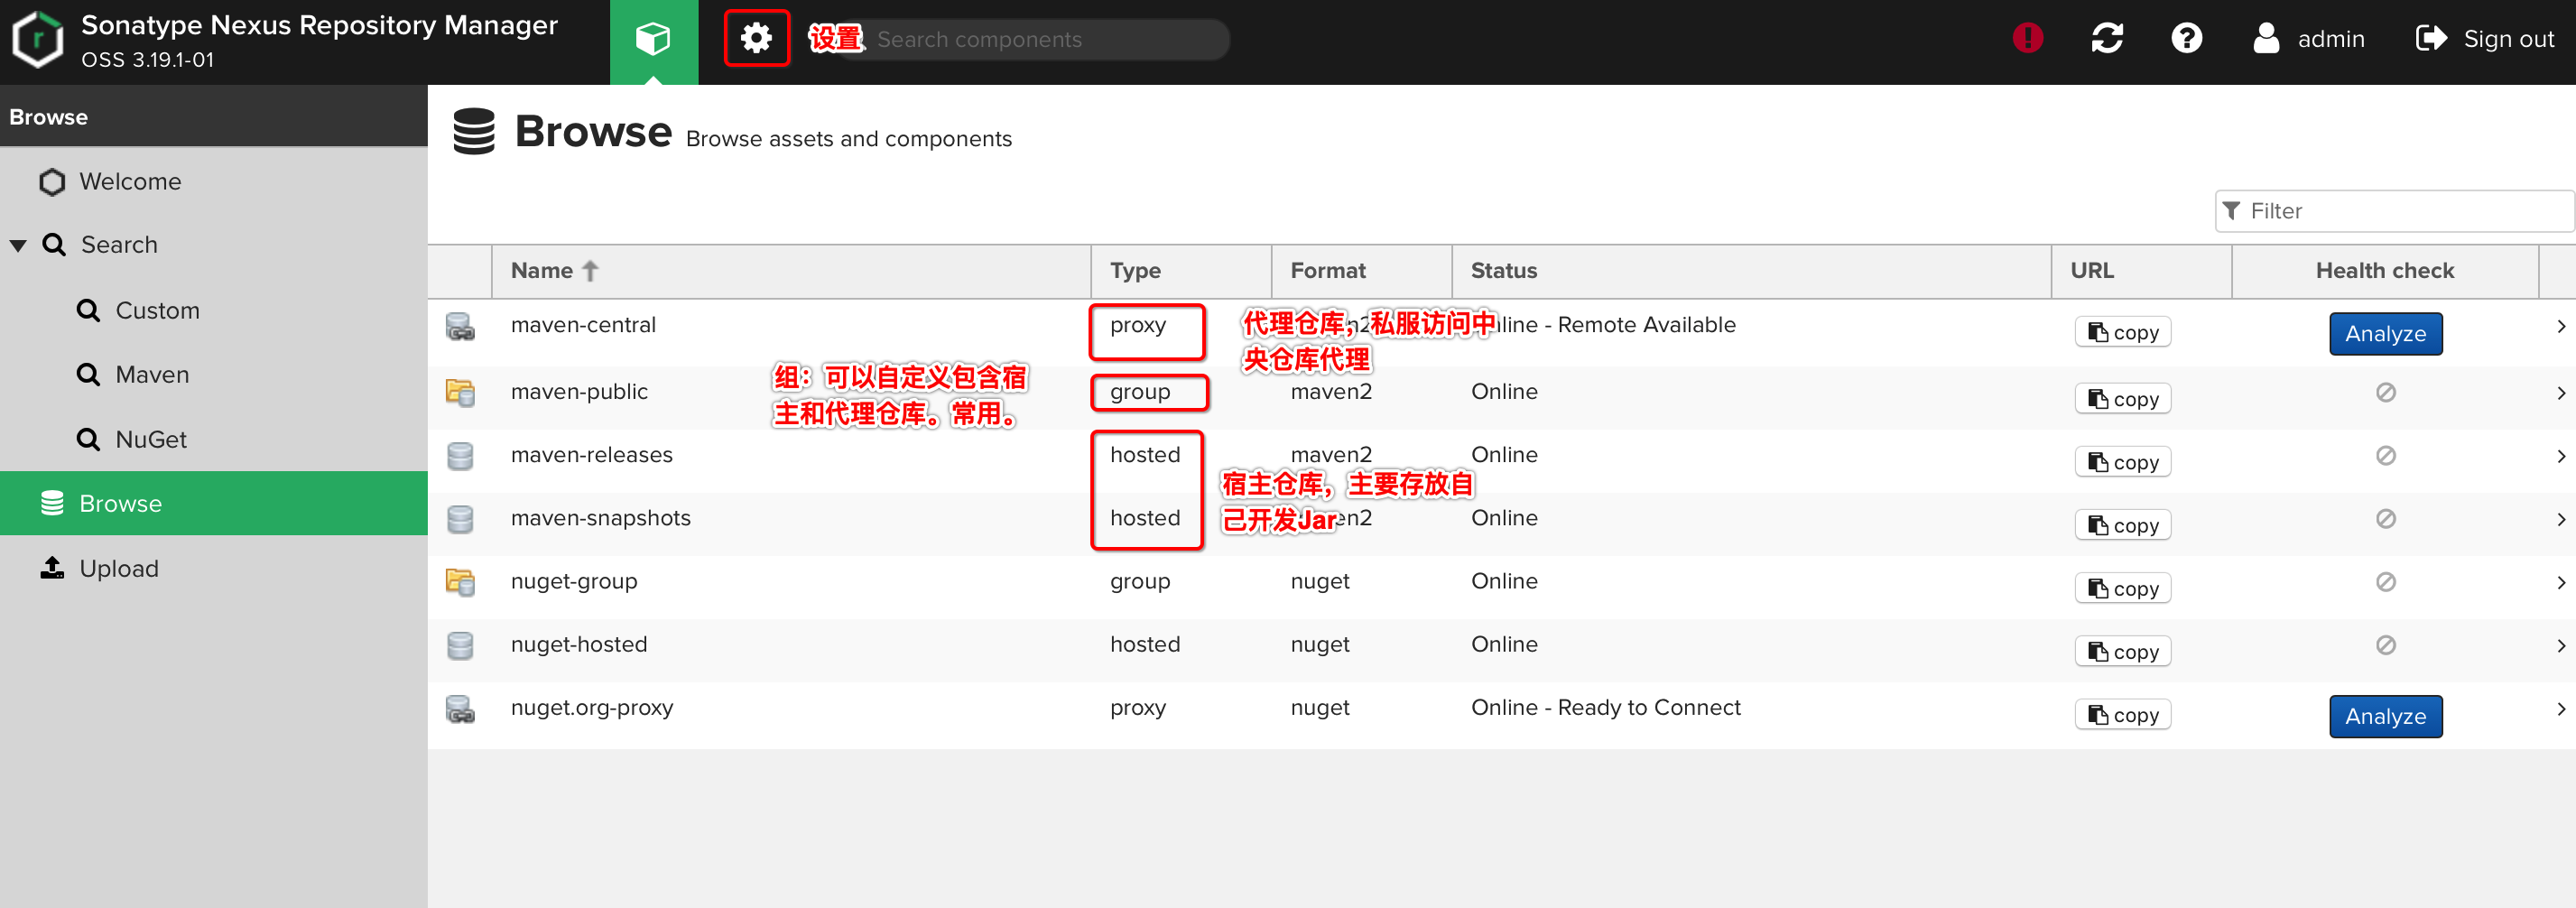
- 组仓库默认包含
maven-releases和maven snapshots,以及maven-central,这样在依赖Jar包时既可以优先从私服下载,也可以从中央仓库下载; - 组仓库包含仓库可以在设置中设置;
- 一般私服使用的就是组仓库;
5. 上传
-
配置用户:在mvn设置文件settings.xml中,servers节点添加用户。
... <server> <id>releases</id> <username>admin</username> <password>YOUR NEXUS PASSWORD</password> </server> <server> <id>snapshots</id> <username>admin</username> <password>YOUR NEXUS PASSWORD</password> </server> ... -
在项目pom文件中配置上传路径:
... <distributionManagement> <repository> <!-- 注意id要与server节点一致 --> <id>releases</id> <url>http://YOUR NEXUS IP:8081/repository/maven-releases/</url> </repository> <snapshotRepository> <id>snapshots</id> <url>http://YOUR NEXUS IP}:8081/repository/maven-snapshots/</url> </snapshotRepository> </distributionManagement> ... -
执行发布命令:
mvn deploy。
4. 下载
-
配置用户(组仓库):
... <server> <id>public</id> <username>admin</username> <password>YOUR NEXUS PASSWORD</password> </server> ... -
配置模板:
<profile> <!-- profile的id --> <id>dev</id> <repositories> <repository> <!-- 仓库的id,repositories可以配置多个仓库,保证id不重复 --> <id>public</id> <!-- 仓库地址,即nexus仓库组的地址 --> <url>http://YOUR NEXUS IP:8081/repository/maven-public/</url> <!-- 是否下载releases构件 --> <releases> <enabled>true</enabled> </releases> <!-- 是否下载snapshots构件 --> <snapshots> <enabled>true</enabled> </snapshots> </repository> </repositories> <pluginRepositories> <!-- 插件仓库,maven运行依赖插件,也需要从私服下载 --> <pluginRepository> <!-- 插件仓库的id不允许重复,否则后面的会覆盖前面的 --> <id>public</id> <name>Public Repositories</name> <url>http://YOUR NEXUS IP:8081/repository/maven-public/</url> </pluginRepository> </pluginRepositories> </profile> -
激活模板:
<activeProfiles> <!-- 模板id --> <activeProfile>dev</activeProfile> </activeProfiles> -
项目中pom文件添加依赖,即可正常依赖。